How to Replace Document Feed Rollers on a Xerox Versalink C410/C415 Printer

April 16, 2024
 0 views
 0 comments
How to Replace Document Feed Rollers?
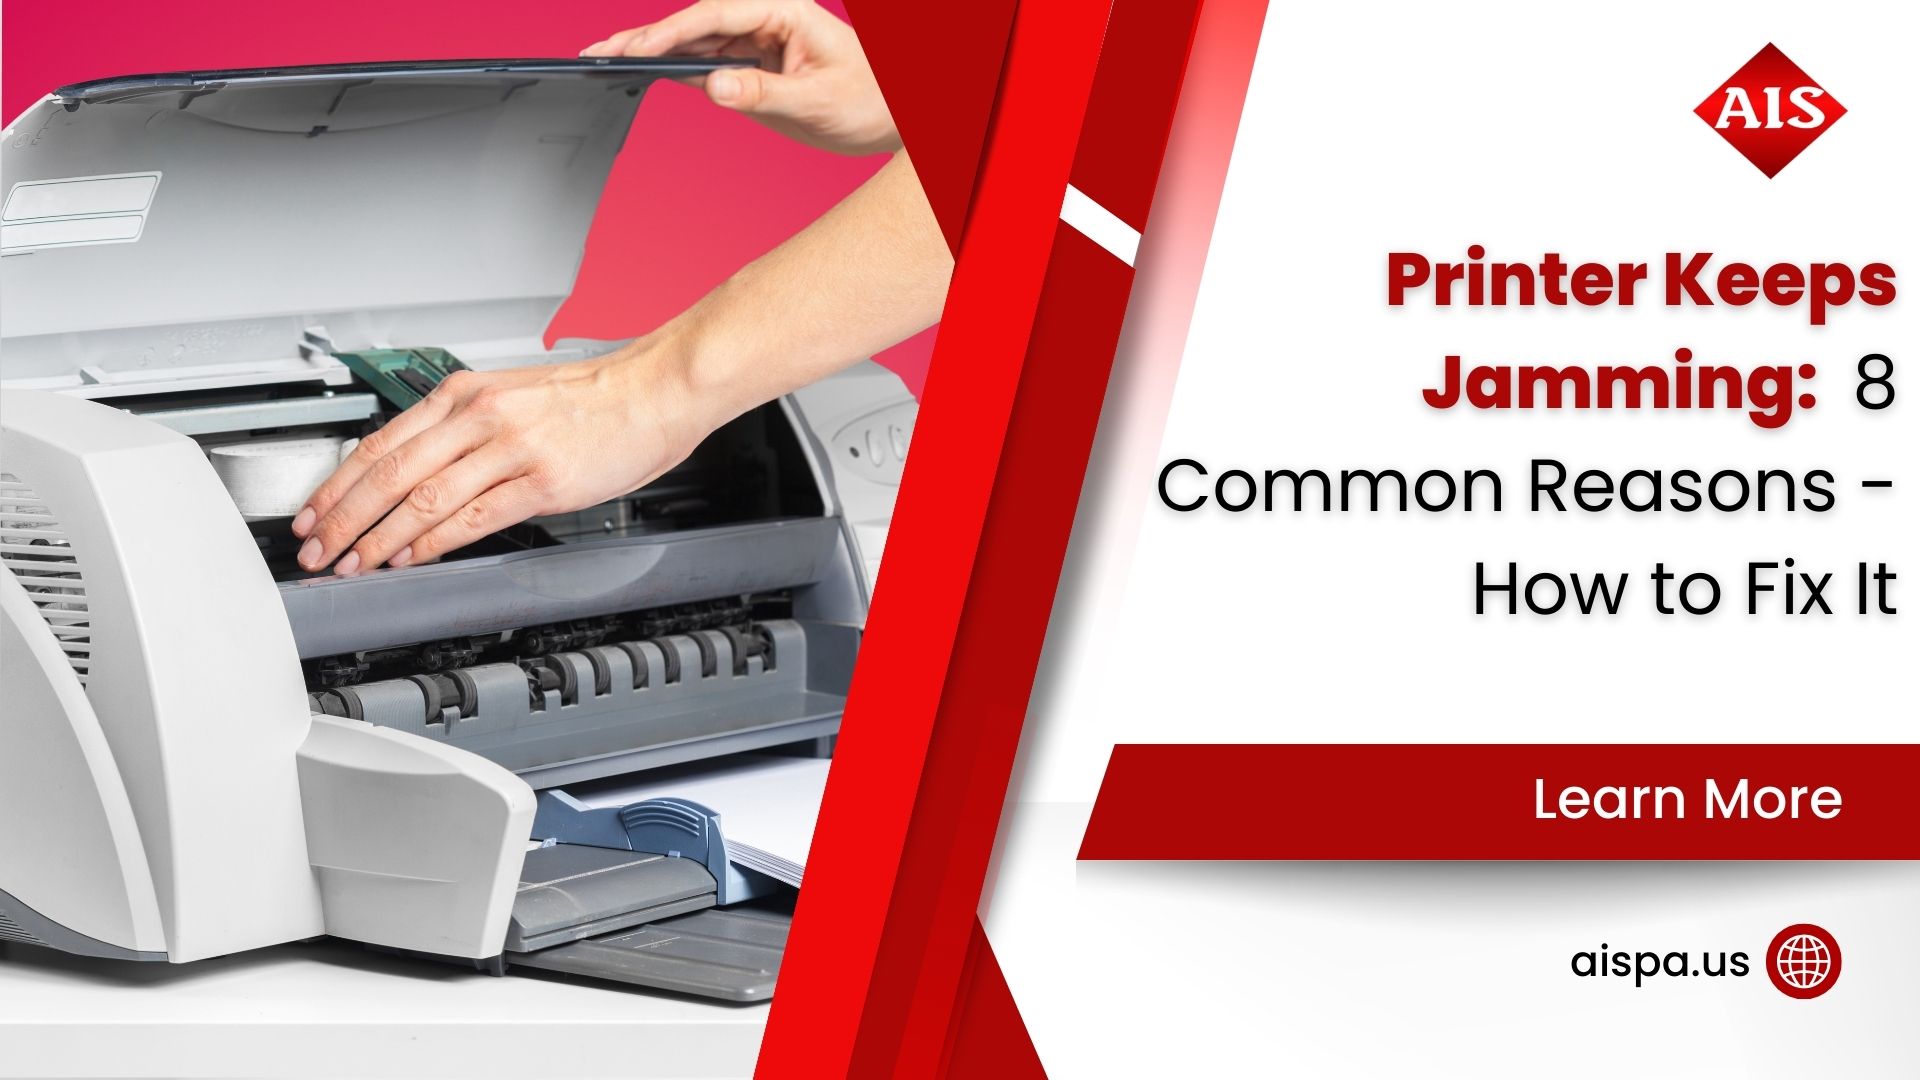
Are you struggling with paper jams and misfeeds in your Xerox C410 & C415 printer? These issues are often caused by worn-out document feed rollers. In this guide, we’ll walk you through the process of replacing these crucial components to keep your printer running smoothly.
At Associated Imaging Solutions, we understand the frustrations of printer problems. With our extensive experience servicing printers, including fixing worn-out feed rollers, we’re here to provide expert guidance.
Our seasoned technician with years of printer repair experience. They’ll show you step-by-step how to replace your document feed rollers and ensure your printer performs at its best.
By following these steps and maintaining your printer regularly, you’ll keep it in top condition for efficient printing. Let’s learn together and keep those printing tasks hassle-free!
What is a document feeder kit on a printer?
Why Replace Your Document Feed Rollers?
Understanding the importance of replacing your document feed rollers is key before diving into the step-by-step process. With regular use, the automatic document feed (ADF) rollers in your Xerox printer can wear down, causing issues like frequent misfeeds, paper jams, and reduced print quality. This degradation can disrupt your printing tasks and lead to frustration.

By replacing the worn-out document feed rollers with a feed roller kit, you can restore your printer’s ability to smoothly feed paper through the automatic document feeder (ADF). This results in improved print output, fewer interruptions, and a more efficient printing experience overall.
Before we proceed with the replacement process, it’s essential to recognize the role of these rollers in maintaining the functionality of your printer’s automatic document feeder. Let’s ensure your Xerox printer operates at its best by replacing the document feed rollers effectively.
Part 1: Separator Roll Replacement
Step 1: Open the Top Cover To access the feed roller assembly and separator roll, start by opening the top cover of your Xerox printer.
Step 2: Remove the Separator Roll Squeeze the fangs on both sides of the separator roll assembly, roll it up, and pull it straight out to remove it.
Step 3: Replace the Separator Roll When reinstalling the separator roll, ensure the flat sides of the fangs align with the holes at the bottom of the assembly. Lean it onto the spring and firmly push down until it clicks into place securely.
Part 2: Feed Roller Assembly Replacement
Step 1: Remove the Document Feeder Roll Locate the orange handle at the rear of the machine and lift it up. Pull the handle straight out to detach the feed roller assembly. On the opposite side, find the black plastic dowel and lean the assembly out of the top cover.
Step 2: Install the New Feed Roller Assembly Carefully insert the black plastic dowel into its corresponding hole on the housing, ensuring a snug fit. Swing the assembly back into position until the orange handle slots into place at the back of the housing.
Step 3: Align and Secure the Rollers Check that the rollers are correctly aligned and not leaning forward. Insert the orange piece back into the housing and swing the handle down to lock it securely. Confirm that the roller is fully seated.
Step 4: Test and Close the Top Cover After replacing the rollers, close the top cover of your Xerox printer. Conduct a test print to verify proper functionality and improved document feed performance.
If you have any questions or encounter issues during the replacement process, please don’t hesitate to contact us. Our team, led by experienced technicians, are here to help you quickly resolve any problems and maintain your printer for optimal performance. Don’t forget to like, subscribe, and leave a comment if you found this guide helpful!
Consequences of Neglect

Related Posts

— How Much Is a Copy Machine? Lease vs. Buy Costs (Updated 2026)
— How Many Pages Does an Ink Cartridge Print? (Updated 2026)