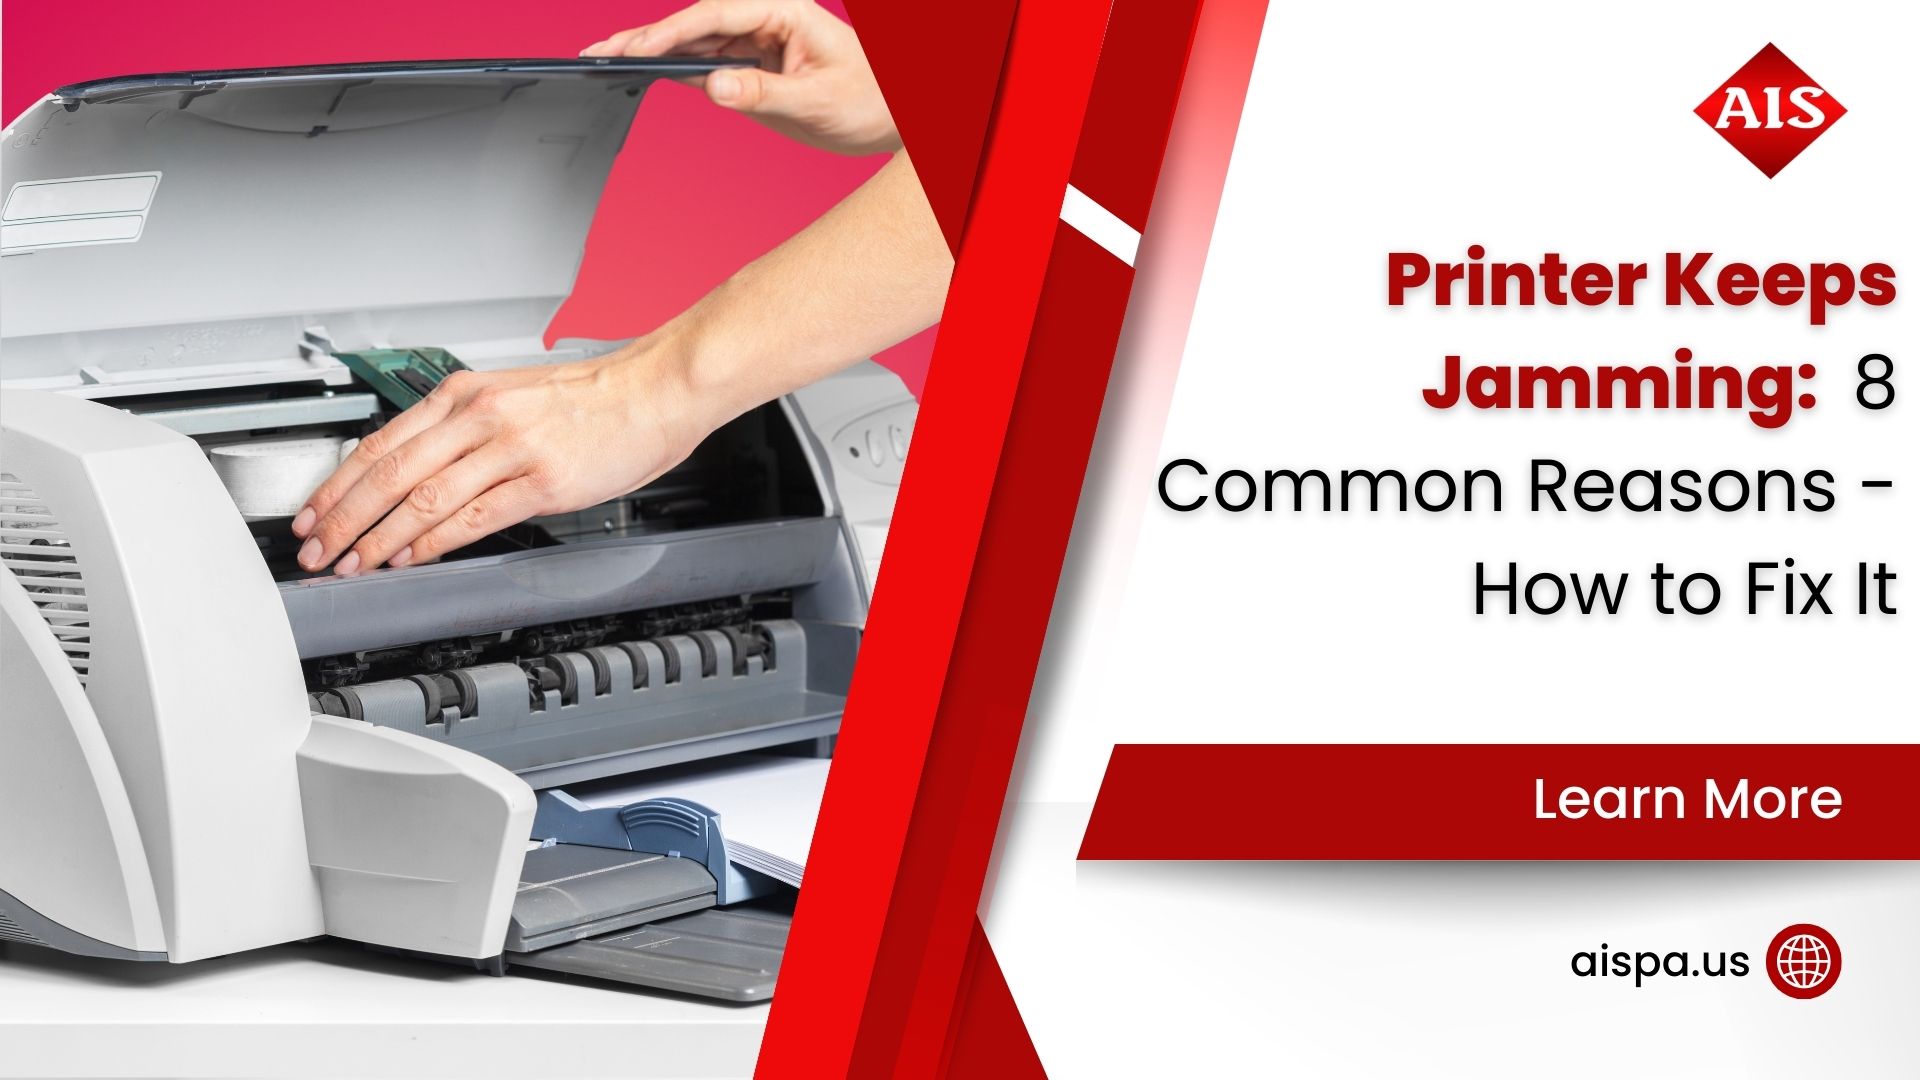
How to Empty a Waste Toner Box: Complete Printer Maintenance Guide (Updated 2026)

March 20, 2026
 0 views
 0 comments
How to Empty a Waste Toner Box: Complete Printer Maintenance Guide (Updated 2026)
Step-by-step instructions for emptying, cleaning, and replacing waste toner containers on Sharp, Ricoh, Xerox, and other office copiers
Overview
Why Your Waste Toner Box Matters More Than You Think
Every laser printer and copier produces leftover toner during the printing process. This excess powder collects in a small plastic container tucked inside your machine. Most office workers never think about it until the printer displays an error message and refuses to print another page.
So what exactly is a waste toner box? It is a removable container designed to catch toner particles not transferred onto paper during fusing. Without it, loose toner would coat internal components, degrade print quality, and potentially damage the drum unit.
Here is the problem: many offices panic. They see the “waste toner full” alert and think the printer is broken. But it does not have to be a crisis. Emptying or replacing the waste toner container is a straightforward maintenance task you can handle yourself in under 10 minutes. And doing it regularly extends the life of your printer, reduces service calls, and keeps print quality sharp.
This guide walks you through every step for the most common office copier brands, including Sharp, Ricoh, Xerox, and Konica Minolta. Associated Imaging Solutions has been maintaining office printers across the Philadelphia area since 1999, and these are the same instructions our technicians follow on service calls.
Before You Start
Safety Precautions for Handling Waste Toner
Toner powder is not dangerous in small quantities, but it deserves respect. The particles are extremely fine (typically 5 to 15 microns) and can become airborne quickly. The World Health Organization classifies toner dust as a class 2B substance, meaning prolonged exposure warrants caution.
Before you touch the waste toner container, gather these supplies and follow these safety steps.
What You Need
- Disposable nitrile or latex gloves
- A dust mask or N95 respirator (especially for sensitive individuals)
- Two large plastic bags (one for toner, one as a backup)
- Several sheets of old newspaper or a disposable drop cloth
- A dry, lint-free microfiber cloth
- A small soft-bristle brush (a clean paintbrush works well)
Safety Rules
- Work in a well-ventilated area; open a window if possible
- Never use a regular vacuum cleaner on spilled toner (the fine particles pass through standard filters and can damage the motor; use a toner-specific vacuum instead)
- If toner contacts your skin, wash with cold water and soap (hot water causes toner to bond to skin fibers)
- Keep the waste toner container level while transporting it to avoid spills
- Avoid windy or drafty spaces during the emptying process
Empty toner cartridges are thrown into U.S. landfills every year; each takes 450 to 1,000 years to decompose (EPA estimate)
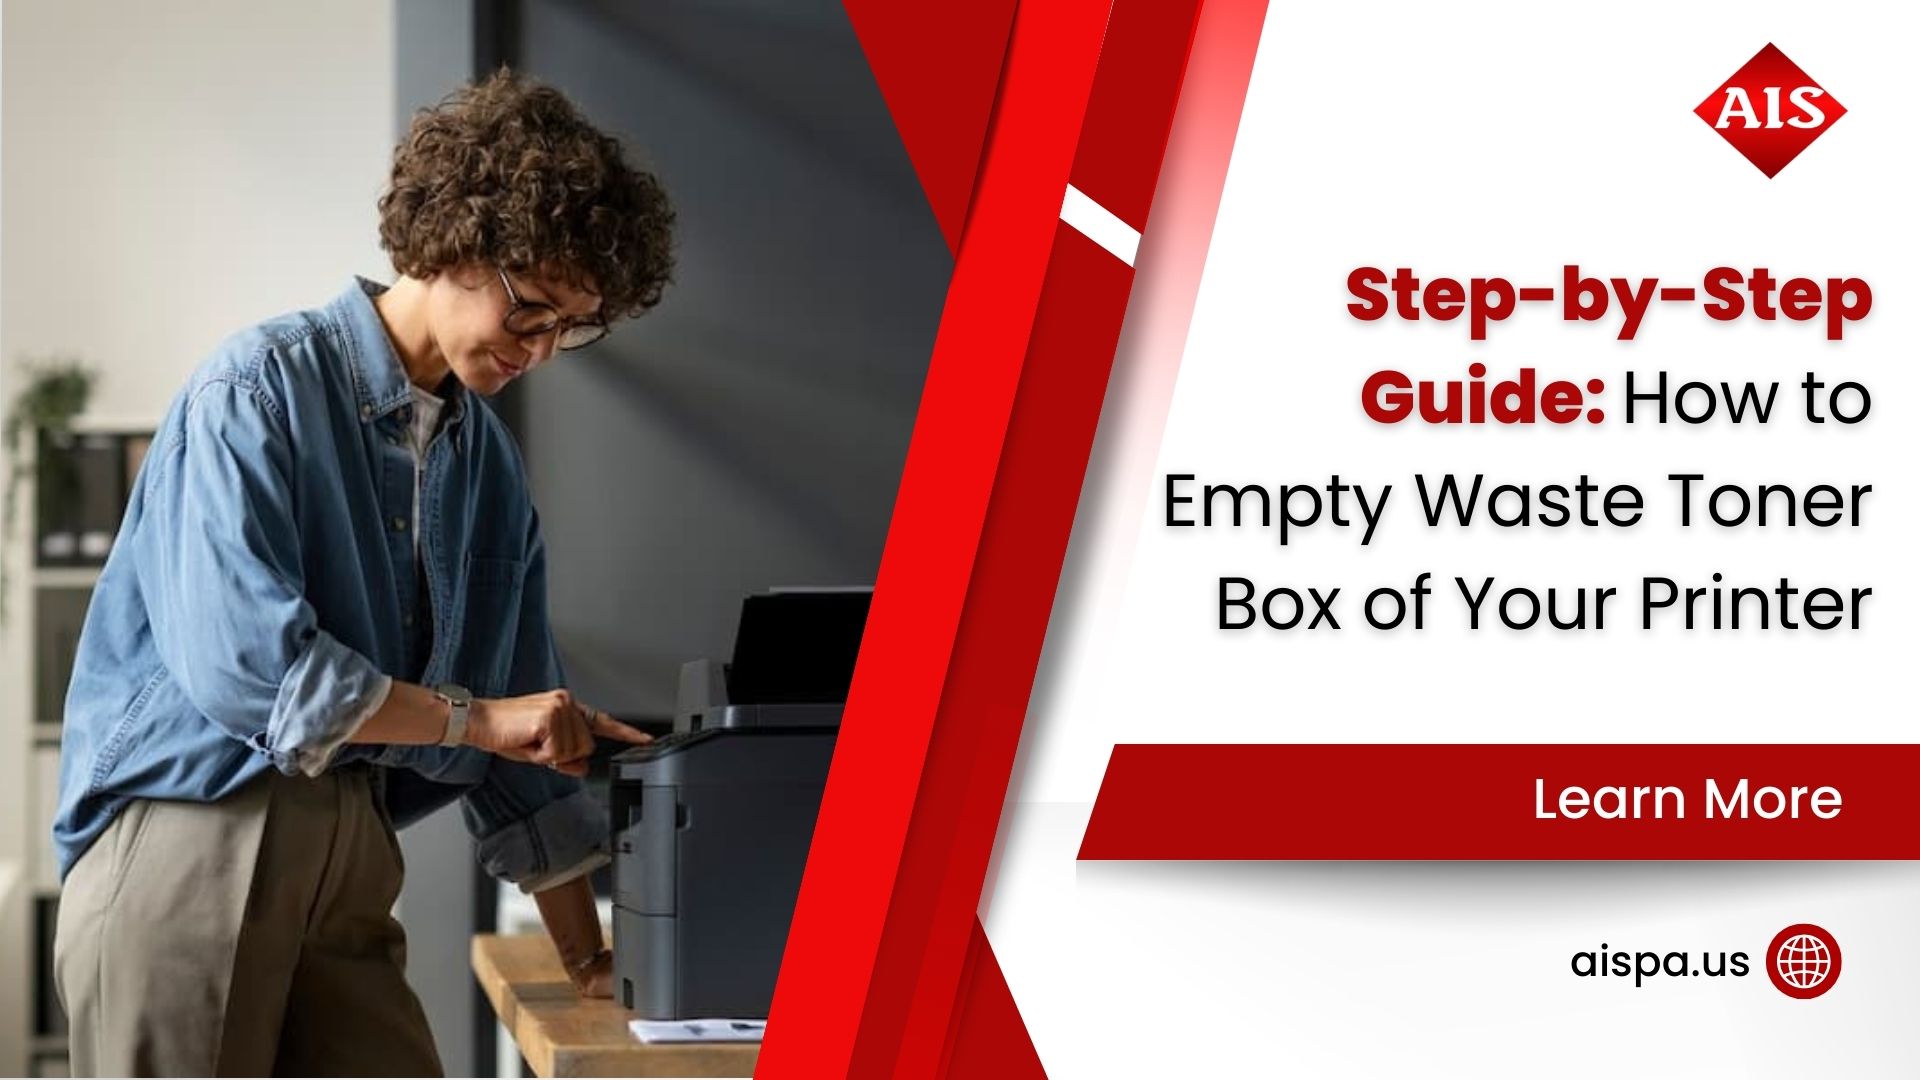
Step-by-Step
How to Empty a Waste Toner Box: 7 Steps
These instructions apply to most laser printers and multifunction copiers. We have included brand-specific notes where the process differs. Ready? Grab your gloves. Let us walk through it.
Step 1: Power Off and Unplug the Printer
Press the power button and wait for the machine to complete its shutdown sequence. Then unplug the power cord from the wall outlet. This protects you from electrical hazards and prevents the printer from entering a cleaning cycle mid-process.
Step 2: Open the Front or Side Cover
Depending on your model, the waste toner box sits behind the front door, side panel, or a dedicated access hatch. On Sharp BP-series copiers, press the green lever on the right side to release the front cover. On Ricoh machines, the waste toner container usually sits on the left side behind a small door. Consult your user manual if you cannot locate it.
Step 3: Remove the Waste Toner Container
Grip the container firmly with both hands. Most waste toner boxes have a handle or grip area molded into the plastic. Slide the container straight out; do not tilt or twist it. On Sharp models, the container ejects by pulling a latch and sliding forward. On Xerox machines, you may need to press a release tab before the container slides free.
Step 4: Empty the Toner into a Sealed Bag
Lay newspaper or a drop cloth on a flat surface. Hold the waste toner container over the newspaper and lower it into a large plastic bag. Some containers have a plug or cap on the bottom; remove it while the container is inside the bag. Turn the container upside down and gently tap the sides to dislodge all collected toner. For stubborn residue, use a soft-bristle brush.
Step 5: Clean the Sensor Window
This step matters most. Most people skip it. And it is the one causing repeated error messages. Almost every waste toner container has a small clear plastic window or optical sensor area. If toner residue covers this window, the printer will still report the container as full even after you empty it. Wipe the sensor window with a dry, lint-free cloth until it is completely clear.
Step 6: Reinstall the Container
Slide the empty and cleaned waste toner container back into the printer. Make sure it clicks into its original position. On many Sharp and Ricoh models, you will hear or feel a distinct snap when the container seats correctly. If the container does not lock in, check for debris around the mounting rails.
Step 7: Close the Cover and Power On
Close the cover firmly. Plug the power cord back in and press the power button. The printer should boot without displaying a waste toner error. If the error persists, double-check the sensor window and reseat the container.
Brand Guide
Waste Toner Box Instructions by Copier Brand
While the general process is the same across brands, each manufacturer has quirks worth knowing. Here is a quick-reference comparison.
| Brand | Container Location | Release Mechanism | Sensor Type | Replacement Cost |
|---|---|---|---|---|
| Sharp (BP series) | Front, right side | Green lever + slide | Optical window | $40 – $60 |
| Sharp (MX series) | Front, lower area | Pull handle + slide | Optical window | $45 – $65 |
| Ricoh | Left side panel | Small door + pull | Contact sensor | $30 – $55 |
| Xerox | Front, behind main door | Release tab + slide | Optical window | $35 – $60 |
| Konica Minolta | Front, lower right | Twist lock + pull | Weight or optical | $30 – $50 |
| Canon | Front or right side | Handle + slide | Optical window | $25 – $45 |
One important caveat: not all waste toner containers are designed to be emptied and reused. Some brands (particularly certain Canon and Konica Minolta models) use sealed containers meant for one-time use. Check your printer manual before attempting to empty these, as forcing them open can void your warranty or damage the container’s seal.
If your office runs Sharp copiers, emptying and reusing the waste toner box is straightforward and manufacturer-approved for most models. This is one reason Sharp remains a popular choice among Philadelphia-area businesses looking to minimize consumable costs.
Troubleshooting
Common Waste Toner Errors and How to Fix Them
You emptied the container. You cleaned the sensor. You reinstalled everything. But the error message is still on the display. What now? Here are the most common post-emptying issues and their fixes.
“Replace Waste Toner” Message Persists
The sensor window is the usual culprit. Remove the container again and use a dry cloth to thoroughly clean both the sensor window on the container and the sensor reader inside the printer. Even a thin film of toner dust will trigger a false reading.
Toner Leaking Inside the Printer
This typically happens when the container was not seated properly or tilted during reinstallation. Remove the container, clean any spilled toner with a toner-rated vacuum or damp cloth, and reseat the container carefully on its rails.
Print Quality Drops After Emptying
If you see streaks, spots, or ghosting after emptying the waste toner box, the issue likely has nothing to do with the waste container itself. These symptoms usually point to a worn drum unit or a developing roller in need of replacement. Schedule a service call to have a technician diagnose the problem.
Error Reappears After a Few Days
Your waste toner box may be reaching end of life. After 3 to 4 emptying cycles, the container walls and seal can degrade. Micro-cracks allow toner to seep past the optical sensor, triggering premature full readings. At this point, replacing the container is more cost-effective than repeatedly cleaning it.
| Symptom | Likely Cause | Fix |
|---|---|---|
| Error persists after emptying | Dirty sensor window | Clean sensor on container and inside printer |
| Toner dust around container area | Improper seating or cracked container | Reseat or replace container |
| Streaks or spots on pages | Worn drum unit (not waste toner) | Replace drum unit or call for service |
| Error returns within days | Degraded container after multiple uses | Replace with new waste toner box ($30-$65) |
| Toner smell during printing | Spilled toner on fuser or internal parts | Power off and clean; schedule service if persistent |
Replace vs. Empty
When Should You Replace the Waste Toner Box Instead of Emptying It?
Emptying and reusing your waste toner box saves money. But there is a limit. Containers wear out. Here is how to know when it is time for a fresh one.
- The container has visible cracks, warping, or damage to the seal
- You have emptied it 3 to 4 times already (the plastic degrades with each cycle)
- The sensor window is scratched or clouded beyond cleaning
- Error messages return within a week of emptying despite thorough cleaning
- Your service contract includes replacement containers at no extra charge
Replacement waste toner boxes typically cost $25 to $65 depending on the brand and model. For offices under a managed print services agreement, these consumables are often included in your monthly cost-per-page rate. Ask your provider before purchasing one separately.
of materials in a toner cartridge can be recycled (Planet Green Recycle); always recycle old waste toner containers through your dealer or manufacturer take-back program
Maintenance Schedule
How Often Should You Empty the Waste Toner Container?
There is no universal answer because frequency depends on your print volume, the percentage of page coverage, and whether you print mostly monochrome or color. But here are practical benchmarks based on our experience maintaining hundreds of copiers across Bucks County, Montgomery County, and the greater Philadelphia area.
| Monthly Print Volume | Waste Toner Box Lifespan | Recommended Action |
|---|---|---|
| Under 3,000 pages | 12 – 18 months | Check quarterly; empty when alert appears |
| 3,000 – 10,000 pages | 4 – 8 months | Check monthly; keep a spare on hand |
| 10,000 – 25,000 pages | 2 – 4 months | Check biweekly; consider a service contract |
| Over 25,000 pages | 1 – 2 months | Schedule monthly maintenance; include in MPS agreement |
Color printing fills the waste toner box roughly twice as fast as monochrome. If your office prints a mix of color flyers, presentations, and black-and-white documents, expect the container to fill faster than the monochrome-only estimates above.
Pro tip: do not wait for the error message. Check proactively. Make waste toner inspections part of your monthly routine. A 30-second visual check prevents unexpected downtime during a busy print run.
Environmental Responsibility
How to Dispose of Waste Toner Properly
Dumping waste toner in the regular trash is legal in most municipalities, but it is not ideal. Toner particles do not biodegrade; each cartridge takes 450 to 1,000 years to decompose in a landfill. And with 375 million cartridges discarded annually in the U.S. alone, the environmental impact adds up.
Here are better options for responsible disposal.
- Use manufacturer take-back programs: Sharp, Ricoh, Canon, and Xerox all offer free recycling for used toner containers and cartridges, often with prepaid shipping labels
- Return containers to your local dealer: we accept used waste toner boxes and route them to recycling facilities
- Seal toner in a plastic bag before disposal to prevent dust from entering the waste stream
- Never pour loose toner down a drain; it can clog pipes and contaminate water systems
- Check with your municipality for hazardous material drop-off days if you have large quantities
Recycled toner cartridges have a 46% lower carbon footprint than newly manufactured ones. If your office goes through waste toner boxes frequently, recycling them is one of the simplest ways to reduce your environmental impact without changing your workflow.
Professional Support
How Associated Imaging Solutions Keeps Your Printers Running
Not every office wants to handle waste toner maintenance in-house. And for high-volume environments, having a professional service partner saves time and prevents costly mistakes. Here is how we support businesses across Philadelphia, Bucks County, and Montgomery County.
Scheduled Maintenance
Regular visits to clean, inspect, and replace consumables before problems start.
Same-Day Service
Local technicians in Warminster respond fast. Most calls are resolved within hours.
Auto Toner Delivery
Toner and waste containers shipped before you run out. No more emergency orders.
Fleet Monitoring
Remote monitoring alerts us when consumables are low, so we act before you notice.
Recycling Program
We collect used waste toner boxes and cartridges and route them to certified recyclers.
Sharp Authorized Dealer
Genuine OEM parts and factory-trained technicians for Sharp copiers and MFPs.
Our managed print services program handles all of this automatically. You focus on running your business. We handle the toner, the maintenance, and the recycling. It is the simplest way to keep your printers productive and your costs predictable.
Frequently Asked Questions
Waste Toner Box FAQ
Can I empty a waste toner box and reuse it?
Yes, most waste toner boxes can be emptied and reused 3 to 4 times before the plastic degrades and the seal weakens. Sharp BP-series and MX-series containers are specifically designed for emptying and reuse. Always check your printer manual for model-specific guidance.
How do I know when the waste toner box is full?
Your printer will display an error message such as “Replace Waste Toner,” “Waste Toner Full,” or “Waste Toner Near Full.” Some models stop printing entirely when the container reaches capacity. You can also do a visual check by removing the container and looking at the fill level through the sensor window.
Is waste toner hazardous?
Toner dust is classified as a class 2B substance by the World Health Organization, meaning it is a possible irritant with prolonged exposure. In the small quantities found in a waste toner box, the risk is minimal. Wear gloves and a dust mask while emptying, and work in a ventilated area to minimize inhalation.
Why does the waste toner error keep coming back after I empty the box?
The most common cause is a dirty sensor window. The optical sensor on the container (or inside the printer) reads toner residue as a full box. Remove the container, clean the clear plastic window with a lint-free cloth, and also wipe the sensor reader inside the printer bay. If the error still returns within days, the container may need replacement.
How much does a replacement waste toner box cost?
Replacement waste toner containers range from $25 to $65 depending on the brand and model. Sharp containers typically run $40 to $65; Ricoh and Canon containers tend to be $25 to $55. Offices under a managed print services contract often receive replacements at no additional charge.
Can I use a generic or third-party waste toner container?
Generic containers work on some models, but we recommend OEM (original equipment manufacturer) containers for reliability. Third-party containers sometimes have slightly different dimensions or sensor placements, which can trigger false errors. The price difference is usually only $5 to $15.
What happens if I keep printing with a full waste toner box?
Most printers will refuse to print once the waste toner container reaches capacity. If you override the warning (on models allowing it), excess toner can spill inside the machine, coating the drum, fuser, and transfer belt. Cleaning up internal toner contamination often requires a professional service call costing $150 to $350.
How do I dispose of waste toner responsibly?
Seal the toner in a plastic bag and use your copier manufacturer’s recycling program; Sharp, Ricoh, Canon, and Xerox all offer free take-back options with prepaid labels. You can also return used containers to your local dealer. Never pour loose toner down a drain or into standard recycling bins.
Does my managed print services contract cover waste toner replacement?
Most MPS agreements include all consumables: toner cartridges, waste toner containers, drums, and developer units. Confirm the details with your provider. At Associated Imaging Solutions, our MPS contracts cover every consumable except paper.
How long does it take for a waste toner box to fill up?
It depends on your monthly print volume and color usage. A low-volume office (under 3,000 pages per month) may go 12 to 18 months between changes. A high-volume office printing 25,000 or more pages monthly may fill the container every 1 to 2 months. Color printing fills the box roughly twice as fast as monochrome.
Can I vacuum spilled toner with a regular vacuum cleaner?
No. Toner particles are so fine (5 to 15 microns) they pass straight through standard vacuum filters, potentially damaging the motor and blowing toner dust into the air. Use a toner-specific vacuum with HEPA filtration, or carefully wipe the spill with a damp cloth and dispose of it in a sealed bag.
Where can I get help with my copier in the Philadelphia area?
Our team serves businesses across Philadelphia, Bucks County, Montgomery County, Delaware County, and Chester County. We provide same-day service from our Warminster location and carry most waste toner containers, drums, and consumables in stock. Call us at (215) 999-8445 for immediate assistance.
Need Help With Your Printer? Get a Free Service Quote
Associated Imaging Solutions has been keeping Philadelphia-area printers running since 1999. From waste toner replacements to full managed print services, we provide solutions to make businesses run more productively, more reliably, and more efficiently.
Or call us directly: (215) 999-8445
Associated Imaging Solutions | 165 Veterans Way, Suite 100A, Warminster, PA 18974 | Contact Us
Related Posts

— How Much Is a Copy Machine? Lease vs. Buy Costs (Updated 2026)

— How Many Pages Does an Ink Cartridge Print? (Updated 2026)