Connecting Your Mac to a Sharp Printer: The Easy Way
How to add sharp printer to mac doesn’t need to be a daunting task. Here’s a quick guide to get you started:
- Visit the Sharp Support Website: Select your printer model and download the drivers.
- Install the Drivers: Open the downloaded file, follow the instructions, and enter your Mac’s password when prompted.
- Add the Printer: Go to System Preferences > Printers & Scanners, click the “+” button, and select your Sharp printer using its IP address.
Connecting your MacBook to a Sharp printer can seem challenging at first, especially if you’re used to a different operating system like Windows. But fear not, this process is designed to be straightforward, so your office can get up and running with reliable printing services quickly.
You’ll start by downloading the necessary drivers from Sharp’s support website, a crucial step to ensure compatibility between your Mac and the printer. Next, you’ll proceed with the installation, which requires some simple steps in the System Preferences of macOS to add the printer to your device. With just a bit of guidance, your Mac can seamlessly communicate with your Sharp printer, allowing you to print documents with ease.

How to Add a Sharp Printer to Mac
Installing the Printer Driver
To add a Sharp printer to your Mac, the first step is to download the correct drivers. Head over to the Sharp support website. Here, you’ll need to select your printer model. Make sure you choose the right one to avoid any compatibility issues.
Once you’ve located your model, download the drivers by selecting “Drivers and Utilities” under the “File Type” section. After downloading, steer to your Downloads folder and open the driver file. Follow the installation wizard’s instructions. You’ll need to enter your Mac’s password to authorize the installation.

Configuring Printer Settings
Now that the driver is installed, it’s time to configure your printer settings. This part involves adding your printer to the list of available devices on your Mac. Here’s how:
- Open System Preferences: Click on the Apple icon in the top left corner of your screen and select “System Preferences.”
- Access Printers & Scanners: In the System Preferences window, double-click on “Printers & Scanners.”
- Add Your Printer: Click the “+” button at the bottom left of the Printers & Scanners window. This will open a new dialog showing available printers.
- Enter Printer Details: If your printer doesn’t automatically appear, you can add it manually using its IP address. For this, select the “IP” tab in the dialog. Enter the IP address of your Sharp printer. You can find this on the printer’s display by navigating to “Settings” and then “Network Status.”
- Select Protocol: Choose the “LPD” protocol from the drop-down menu. This protocol is often used for network printing.
- Name Your Printer: Enter a name for your printer in the “Name” field. This helps you easily identify it later.
- Choose the Driver: Click the “Use” drop-down menu and select “Select Software.” Type your printer model in the search bar and select it from the list.
- Finalize: Click “Add” to complete the setup.
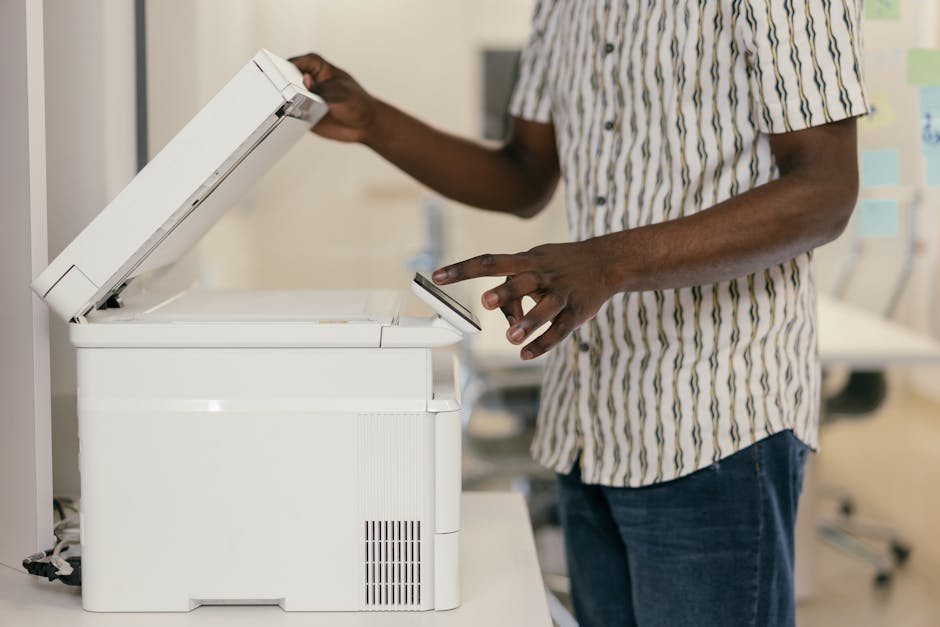
Now your Sharp printer should be ready to use with your Mac. If you encounter any issues, ensure that both your Mac and the printer are connected to the same network and that you have the correct IP address and drivers installed.
Troubleshooting Common Issues
Unable to Verify Printer on Network
Sometimes, when you’re trying to connect your Sharp printer to your MacBook Pro, you might see an error message saying “Unable to verify printer on your network.” Don’t worry—this is a common issue that can be resolved with a few simple steps.
First, double-check your network connection. Ensure both your MacBook and the Sharp printer are connected to the same Wi-Fi network. A mismatch here can lead to verification issues.
Next, verify the IP address of your printer. Make sure you’ve entered it correctly in the “Printers & Scanners” settings. You can find the printer’s IP address by checking the printer’s network settings or display panel.
If everything seems correct but the issue persists, try restarting both your MacBook and the printer. Sometimes, a simple restart can resolve connectivity problems.
Finally, ensure that the printer driver is up to date. Visit the Sharp support website to download the latest driver for your printer model if needed. An outdated driver can often cause network verification issues.
Printer Not Listed in System Preferences
If your Sharp printer doesn’t appear in the “Printers & Scanners” list, you might need to add it manually. Here’s how:
- Open System Preferences: Click the Apple menu at the top left of your screen and select “System Preferences.”
- Steer to Printers & Scanners: Click on “Printers & Scanners” to open the printers list.
- Add Printer Manually: Click the “+” button at the bottom left of the window. If your printer isn’t listed automatically, switch to the “IP” tab.
- Enter Printer Details: Type in the IP address of your Sharp printer. Ensure that the protocol is set to “LPD” or “IPP,” depending on your printer’s compatibility.
- Select Your Printer’s Software: In the “Use” field, select “Select Software” and find your printer model in the list. This step ensures the correct driver is used.
- Finalize the Setup: Click “Add” to complete the process.
By following these steps, your Sharp printer should now be successfully connected to your Mac. If you’re still facing issues, consider checking for any firmware updates for your printer or consulting the Sharp support team for further assistance.
Advanced Setup Options
Using Internet Printing Protocol (IPP)
Setting up your Sharp printer for remote printing using the Internet Printing Protocol (IPP) is a great way to print from anywhere. IPP allows you to send print jobs over the internet, making it ideal for remote work setups.
Here’s how to get started:
- Gather Information: First, you’ll need the host name or IP address of your Sharp printer at the remote location. Make sure your printer supports IPP.
- Open System Preferences: Steer to “Printers & Scanners” in your Mac’s system preferences.
- Add a Printer: Click the “+” button, then switch to the “IP” tab.
- Enter Printer Details: In the “Address” field, enter the host name or IP address of the printer. Set the “Protocol” to IPP and type “ipp” in the “Queue” field.
- Select the PPD File: In the “Use” field, select “Select Software” and choose the appropriate PPD file for your printer model. This ensures that the printer settings are correctly applied.
- Finalize the Setup: Click “Add” to complete the setup. Your printer is now ready for remote printing via IPP.
Bonjour and AppleTalk Connections
For those who prefer a more automatic setup, Bonjour and AppleTalk can simplify the process:
- Automatic Detection: When you connect your Sharp printer to the same network as your Mac, Bonjour can automatically detect the printer. This feature makes it easy to add the printer without manually entering details.
- Installable Options: If your printer has additional features like extra paper trays, the “Installable Options” screen will appear during setup. Ensure these options are correctly configured to take full advantage of your printer’s capabilities.
- Paper Tray Configuration: If you’re using AppleTalk, your Mac will automatically detect the installed paper trays and other accessories, eliminating the need for manual configuration.
By utilizing IPP for remote printing or Bonjour for easy local connections, you can seamlessly integrate your Sharp printer with your Mac, ensuring a smooth printing experience.
Frequently Asked Questions about Sharp Printer Mac Setup
How do I manually add a printer to my Mac?
Adding a printer manually to your Mac can be a straightforward process. Here’s how you can do it:
- Open the Apple Menu: Click on the Apple icon in the top left corner of your screen and select “System Preferences.”
- Steer to Printers & Scanners: In the System Preferences window, find and click on “Printers & Scanners.”
- Add a Printer: Click the “+” button at the bottom left of the Printers & Scanners window. A dialog box will appear with available printers.
- Select Your Printer: If your Sharp printer appears in the list, click on it. If not, you may need to enter the printer’s IP address manually, especially if it’s on a network.
- Choose the Correct Driver: In the “Use” dropdown menu, select “Select Software” and find the driver for your Sharp printer model. This ensures the correct settings are applied.
- Finalize the Setup: Click “Add” to complete the process. Your printer should now be ready for use.
How to connect my Sharp printer to my computer?
Connecting your Sharp printer to your computer involves a few key steps, particularly focusing on the installation method and selecting the correct multifunction printer (MFP):
- Download the Printer Driver: Visit the Sharp support website to download the necessary drivers for your printer model. Make sure to select drivers compatible with your operating system.
- Install the Driver: Open the downloaded file and follow the on-screen instructions to install the driver. You may need to enter your password during this process.
- Connect the Printer: Use a USB cable or ensure your printer is connected to the same Wi-Fi network as your Mac.
- Add the Printer: Once the driver is installed, go to “System Preferences” > “Printers & Scanners” and click the “+” button to add your printer. Choose the MFP from the list or enter its IP address if necessary.
- Complete the Setup: Select the correct driver in the “Use” dropdown menu and click “Add.” Your Sharp printer should now be connected and ready to print.
How to install a Sharp printer on different Windows versions?
Installing a Sharp printer on various Windows versions involves accessing device settings and selecting the correct printer:
- Access Device Settings: On your Windows computer, go to “Settings” and then “Devices.”
- Add a Printer: Click on “Printers & Scanners” and then “Add a printer or scanner.” Windows will search for available printers.
- Select Your Printer: If your Sharp printer is listed, click on it to add. If it’s not listed, choose “The printer that I want isn’t listed” to manually enter the printer’s information.
- Install the Driver: If prompted, install the printer driver by following the on-screen instructions. You may need to download the driver from the Sharp website if Windows doesn’t find it automatically.
- Finalize the Installation: Once the driver is installed, complete the setup by clicking “Next” and following any additional prompts. Your Sharp printer should now be installed and ready for use on your Windows device.
By following these steps, you can easily connect and install your Sharp printer on both Mac and Windows systems, ensuring a seamless printing experience.
Conclusion
At Associated Imaging Solutions, we pride ourselves on delivering personalized service and advanced technology to improve your business’s document management. Connecting your Mac to a Sharp printer doesn’t have to be a daunting task. Our team is dedicated to making this process as smooth as possible, ensuring that you have the right support and tools at your fingertips.
Our approach combines local expertise with global standards, ensuring that our customers receive not only the best products but also the best service. We understand the challenges of modern businesses, including the need for reliable and efficient office technology. That’s why we offer high-quality copier rentals, repairs, and managed print services custom to your specific needs.
When it comes to how to add a Sharp printer to Mac, our step-by-step guides and expert support make it easy. Whether you’re dealing with installation, troubleshooting, or exploring advanced setup options, we’re here to help.
For more information about our services and how we can assist you with your Sharp printer needs, visit our Copiers & Printers page. Let us help you streamline your office tasks and boost efficiency with the world’s most advanced copier and printer equipment.
