Sharp Solutions: Installing Your Printer Driver on Windows 10
How to install Sharp printer driver on Windows 10 can seem a bit daunting, especially in busy office environments like those in Philadelphia. But worry not—here’s a straightforward guide for quick reference:
- Identify Your Printer Model: Make sure you know your printer model and confirm your operating system is Windows 10.
- Download the Driver: Head to the Sharp support site and download the driver that matches your printer model and OS.
- Install the Driver: Open the downloaded file, follow on-screen instructions, and enable automatic updates.
- Connect the Printer: Link your printer to the computer via USB or configure it wirelessly.
Ensuring seamless operation of essential tools like printers is key. Sharp printer drivers play a crucial role in enabling your Sharp printer to communicate effectively with a Windows 10 computer. Reliable and easy to use, these drivers ensure that your print jobs are executed with minimal disruptions, offering high-quality output every time.
Having the correct driver is integral to maintaining a productive office environment. With a few well-executed steps, businesses can integrate Sharp printers into their existing setups, enhancing efficiency without the steep learning curve.

How to install sharp printer driver on windows 10 terms to know:
- how to add sharp printer to pc
- how to find ip address on sharp printer
- how to change ip address on sharp printer
How to Install Sharp Printer Driver on Windows 10
Setting up your Sharp printer driver on Windows 10 can be straightforward. Follow these steps for a smooth installation process.
Selecting the Correct Driver
Begin by identifying your printer model, as each model requires a specific driver. Confirm that your computer is running Windows 10. With this information, visit the official Sharp website.
- Search for your printer model in the provided fields.
- Select your operating system from the available options.
- Ensure you choose the driver that matches your printer model and OS version exactly.
Downloading the Driver
Once you know which driver you need, proceed to download it.
- Go to the Sharp support page using your web browser.
- Use the search functionality to locate your printer model.
- Click on the download button next to the driver for your operating system.
- Save the file to a location on your computer that you can easily access.

Installing the Driver
With the driver downloaded, you can now install it on your Windows 10 computer.
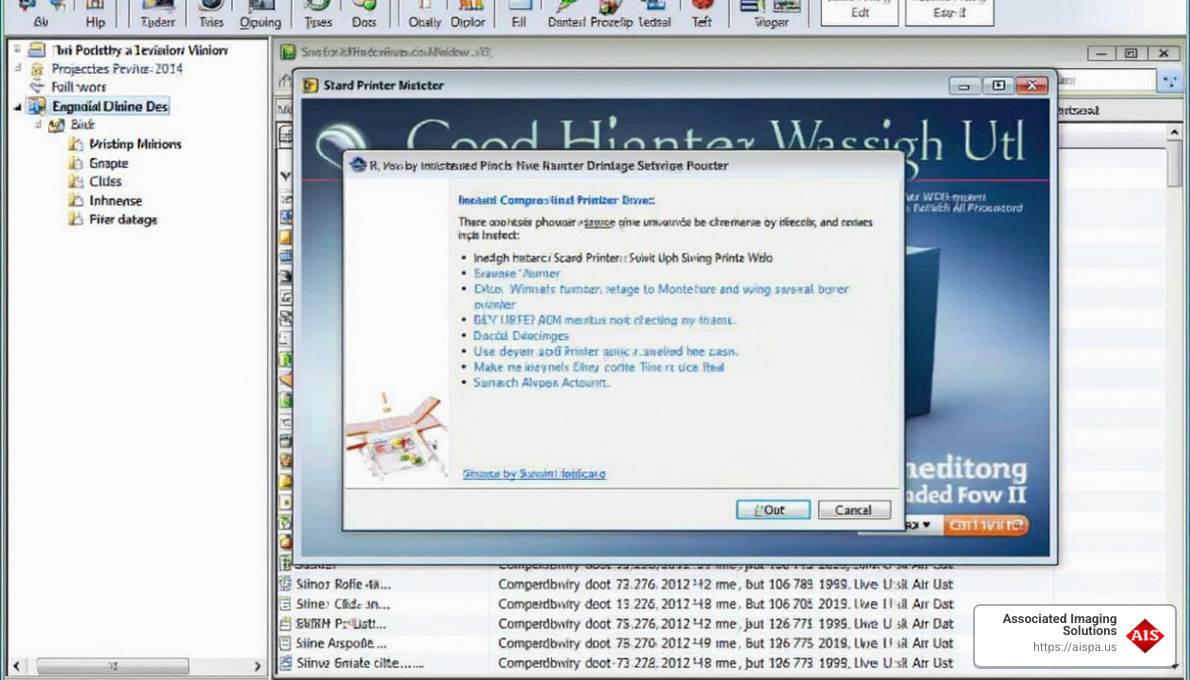
- Run the File: Double-click the downloaded file to initiate the installation process.
- Follow the Prompts: The installation wizard will guide you through the steps. Carefully read each prompt and accept the terms and conditions.
- Enable Automatic Updates: If prompted, opt to enable automatic updates. This keeps your driver updated with the latest fixes and improvements.
- Administrator Privileges: Ensure you have administrator rights on your computer, as these are required to install drivers.
After installation, restart your computer to ensure all changes take effect. This prepares your system for seamless printing operations.
By following these steps, you can easily install the necessary drivers for your Sharp printer, ensuring smooth and efficient printing tasks in your office.
Now that your driver is installed, it’s time to connect your Sharp printer to your computer. Let’s move on to the next section to learn how to establish a connection, whether through USB or wirelessly.
Connecting Your Sharp Printer
Now that your Sharp printer driver on Windows 10 is installed, let’s connect your printer to your computer. You can choose between a USB connection or a wireless setup, depending on your preference and printer capabilities.
USB Connection
Connecting your Sharp printer via USB is straightforward and ideal for a direct, stable connection.
- Locate the USB Cable: Ensure you have a USB cable compatible with your printer. Most printers come with one in the box.
- Connect to Your Computer: Plug one end of the USB cable into the printer and the other into an available USB port on your computer.
- Power On Your Printer: Turn on your printer. Windows 10 should automatically recognize the device and proceed with the necessary setup. If prompted, follow any additional on-screen instructions to complete the connection.
Wireless Setup
For a cable-free experience, setting up your printer wirelessly can offer flexibility and convenience.
- Ensure Wi-Fi is Enabled: On your printer, check that the Wi-Fi feature is turned on. Refer to your printer’s manual if you’re unsure how to do this.
- Connect to Your Network: Access the printer’s settings menu to connect it to your home or office Wi-Fi network. You may need to enter your Wi-Fi password.
- Device Recognition: Once connected to the network, your Windows 10 computer should detect the printer. Go to ‘Settings’ > ‘Devices’ > ‘Printers & Scanners’ and select ‘Add a printer or scanner.’ Your printer should appear in the list of available devices.
- Complete the Setup: Follow any additional prompts to finalize the wireless setup. This may include installing extra software or adjusting printer settings.
Device Recognition
After connecting your printer, it’s crucial to ensure your computer recognizes it correctly.
- Check the Device List: Steer to ‘Printers & Scanners’ in your Windows 10 settings. Your Sharp printer should be listed as an available device.
- Test the Connection: Print a test page to verify that the printer is functioning as expected. This step helps confirm that the connection is successful, whether via USB or Wi-Fi.
By following these steps, you can easily connect your Sharp printer to your Windows 10 computer, ensuring reliable and efficient printing. If you encounter any issues during the connection process, don’t worry. In the next section, we’ll cover how to troubleshoot common installation issues.
Troubleshooting Common Installation Issues
Sometimes, even after installing your Sharp printer driver on Windows 10, you might face a few hiccups. Let’s tackle some of the common problems you might encounter.
Driver Compatibility
Check Compatibility: Ensure the driver you downloaded matches both your printer model and Windows 10. A mismatch can cause errors or prevent the printer from functioning.
- Visit the Sharp Website: Double-check that you selected the correct driver for your printer model. If unsure, search for your printer model on the Sharp support page.
- Update the Driver: If the printer isn’t working, there might be a newer version of the driver available. Downloading the latest version can solve compatibility issues.
Network Connection
If you opted for a wireless setup, network issues can disrupt your connection.
Check Wi-Fi Connection:
- Ensure Stability: Make sure your printer and computer are on the same Wi-Fi network. A weak or unstable connection can lead to problems.
- Restart Devices: Sometimes, simply restarting your printer and router can resolve connectivity issues.
Verify Network Settings:
- Correct Network Name: Double-check that your printer is connected to the correct network. It’s easy to accidentally connect it to a nearby network with a similar name.
Security Warnings
During installation, security warnings might pop up. These are often due to Windows’ security settings.
Bypass Security Warnings:
- Admin Privileges: Ensure you’re logged in with administrator rights. This allows you to bypass certain warnings and install necessary drivers.
- Firewall Settings: Occasionally, your firewall might block the installation. Temporarily disabling it during installation can help, but remember to turn it back on afterward.
Windows Defender Alerts:
- Allow Installation: If Windows Defender flags the driver software, check the publisher details. If it’s from Sharp, you can safely proceed with the installation.
By addressing these common issues, you can ensure a smooth setup of your Sharp printer, paving the way for seamless printing. Next, we’ll dive into frequently asked questions about installing Sharp printer drivers.
Frequently Asked Questions about Installing Sharp Printer Drivers
How do I manually add a printer driver in Windows 10?
Sometimes, automatic installation isn’t an option. To manually add a printer driver in Windows 10, follow these steps:
- Open Printer Settings: Go to the Start menu, type “Printers & Scanners,” and hit Enter.
- Add a Printer: Click on “Add a printer or scanner.” Windows will start searching for available devices.
- The Printer I Want Isn’t Listed: If your printer doesn’t show up, select “The printer that I want isn’t listed.”
- Add a Local Printer: Choose “Add a local printer or network printer with manual settings.”
- Select a Port: Pick the correct port, usually USB001 for USB connections.
- Install the Driver: Click on “Have Disk” and browse to the location where you downloaded the Sharp driver.
- Follow Prompts: Complete the installation by following the on-screen instructions.
This manual method ensures you have complete control over the installation process.
What should I do if my printer is not detected?
If your printer isn’t detected, don’t worry—here are some steps to help you troubleshoot:
- Power Check: Make sure your printer is turned on and properly connected to a power source.
- Network Connection: Ensure your device is on the same network as your computer. For wireless printers, check if the Wi-Fi signal is strong and stable.
- Specify Condition: Double-check the printer’s display for any error messages or notifications.
- Restart Devices: Sometimes, a simple restart of both the printer and your computer can resolve detection issues.
By following these steps, you can often resolve detection problems swiftly.
How to update Sharp printer drivers automatically?
Keeping your drivers up-to-date is crucial for optimal performance. Here’s how you can update them automatically:
- Auto Config Tools: Sharp offers auto config tools that can automatically check for and install updates.
- Windows Update: Use Windows Update to see if there are any available updates for your Sharp printer driver. Go to Settings > Update & Security > Windows Update and click “Check for updates.”
- Sharp Support: Register your printer on the Sharp support page to receive notifications about driver updates.
These methods ensure your printer runs smoothly and benefits from the latest features and fixes.
Conclusion
At Associated Imaging Solutions, we take pride in offering more than just high-quality printers and copiers. We provide personalized service that ensures your business has the right tools for efficient document management. Our team is dedicated to helping you steer through the complexities of modern printing technology, ensuring that your Sharp printer drivers are installed and updated seamlessly.
Our commitment to advanced technology means we stay ahead of industry trends, providing you with cutting-edge solutions that improve productivity. Whether you need assistance with installing a Sharp printer driver on Windows 10 or require ongoing support for your office equipment, we’re here to help every step of the way.
Our local expertise, combined with global standards, makes us the go-to choice for businesses in Pennsylvania. From Philadelphia to Pittsburgh, our service locations are strategically placed to offer timely support wherever you are.
Ready to experience the difference? Find how our copiers and printers can streamline your business operations. Contact us today to learn more about our services and how we can assist you with your document management needs.


