Solving the Problem Printer Jam: Tips and Tricks for a Smooth Office
How to Solve Printer Jam
The printer is an essential tool in the office, but it can cause an issue if a paper jam occurs. Paper jams are one of the most common occupational hazards when using a printer, and they can range from minor to more serious jams that require the printer to be serviced or replaced. Learning how to fix a paper jam in a printer can help you keep your printer running smoothly and save you time and hassle.
This article will provide tips and tricks on how to fix a printer jam in both HP printers and other brands of printers, as well as common causes of paper jams and how to prevent them from occurring.
When troubleshooting a paper jam, it is important to remember not to force or tug at the paper as this can cause it to crumple and damage the printer.
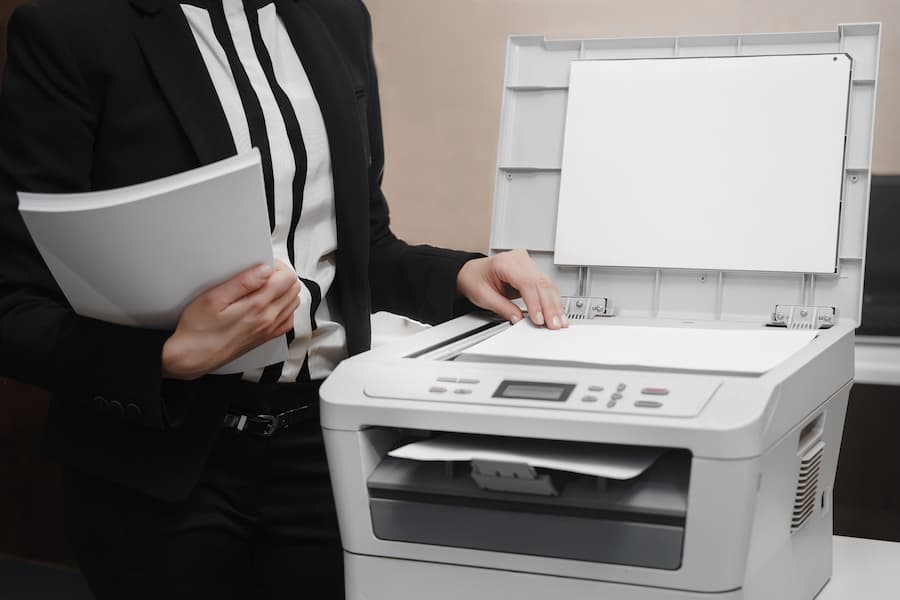
Troubleshoot Printer Problems
To troubleshoot printer problems, it’s important to identify the source of the jam. Check for any jammed paper inside the printer, as well as any debris that may be obstructing the paper feed. Carefully remove the paper from the tray and slot, and inspect any remaining paper for tears or crumples.
Gently re-stack the remaining paper, ensuring it is aligned with the tray and slot. Unplug the printer and check the rollers to make sure they turn freely. If the printer displays an error message, search online to check for new products or printer settings that may be causing the issue.
Identify the Source of the Jam
With careful examination and attention to detail, it is possible to identify the source of a printer paper jam. Start by checking the printer paper tray and making sure it is securely in place. If the tray is loose, the printer may need to be firmly reset in its base so that it is level and secure. Then, inspect the parts of the printer for any paper scraps, toner smudges, or debris that could be causing the paper to get stuck.
Open the rear access door to check for paper that’s been left behind and gently remove any obstructions. If the paper is jammed inside, carefully re-stack the remaining paper in the tray to avoid damaging the printer. In some cases, the paper left behind may be a false paper jam error.
Check for Paper Jams and Debris
The next step is to check for paper jams and debris. After turning off the laser printer, it’s important to open the printer and inspect the paper path for any pieces of paper that could be causing the jam. Carefully remove any pieces of paper stuck inside the machine and ensure that the rollers turn freely. If the paper still remains jammed, take out the entire tray and check if there are any pieces of paper stuck on the sides or the rear of the printer.
After removing all the jammed paper, put the tray back in and turn the printer back on. If the printer’s display still shows a paper jam, it’s possible that there is a piece of paper still stuck inside the machine. To get started, open the front cover and carefully remove any paper that is stuck inside.
Check Printer Settings and Connections
Next, it’s important to check the printer settings and connections. Depending on the printer model, you may need to consult customer support or search online for troubleshooting instructions. First, turn off the printer, and then unplug it. Once it has been removed, carefully inspect the inside of the machine, paying special attention to the paper feed rollers.
If the rollers turn freely and don’t appear to be damp or moist, the paper jam could be caused by incorrect paper size or type settings. To get back on track, turn on the printer and look for the settings on the computer screen when you resume printing after removing the jammed paper.
Clean and Maintain Your Printer
Cleaning and maintaining your printer is essential to ensure optimal performance. It’s important to pay attention to the rollers and other moving parts, as well as replacing any broken or worn out parts. To start, you’re working with a paper jam, so side of the printer to check for any materials that may be causing the paper to become stuck.
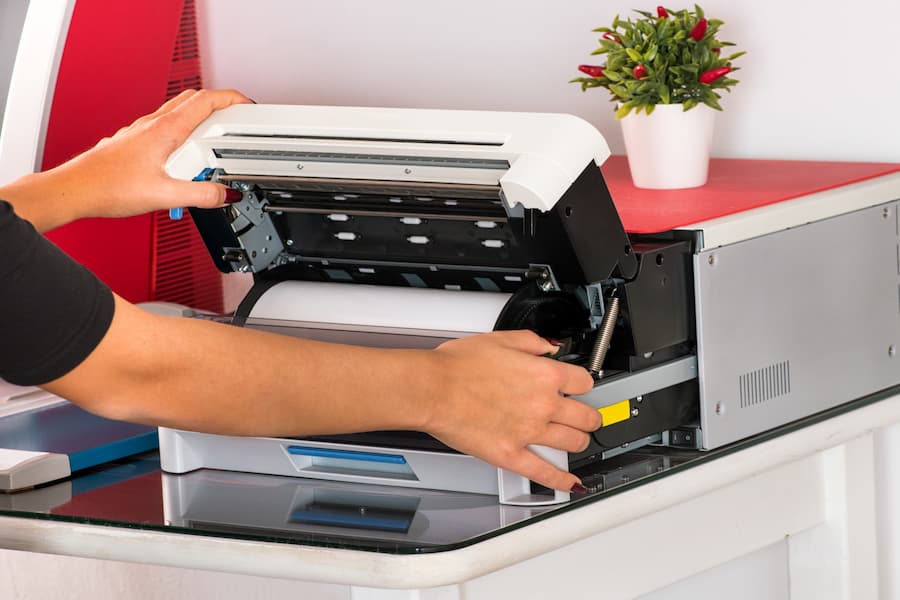
Even after you have removed all the paper, you may still find that the paper is jammed inside. If this is the case, you may need to remove the printer from the wall and then check for any actual paper that still remains inside.
Clean Rollers and Other Moving Parts
Now that you’ve identified and addressed your printer problem, it’s time to clean and maintain your machine. Cleaning rollers and other moving parts is an important part of a printer’s upkeep. Keeping these parts clean can prevent paper jams and ensure smooth printing. To start, unplug the printer from any power source and open the rear access door.
Make sure to also open the paper tray and remove any paper that may still be inside. If you’re dealing with a paper jam, make sure to carefully re-stack the remaining paper in the tray, as pulling them out can cause the paper to crumple and get stuck inside. Once all paper is removed, inspect the rollers.
Replace Broken or Worn Parts
To address any broken or worn parts on the printer, it’s important to know the model of the printer and the parts that may need to be replaced. First, you’ll need to unplug the printer and open the rear access door. Then, inspect the rollers to make sure they turn freely. If not, they may need to be replaced.
If the rollers are still paper jammed, carefully poke the paper until it is removed. Then, try to print a test run to see if it is still paper jammed. If the paper is still inside, wait 30 seconds before turning the printer off and on. If the paper issue persists, check the warranty of the printer and contact the manufacturer for assistance.
Update Printer Drivers and Firmware
Once the moving parts are clean and any broken or worn parts are replaced, updating the printer drivers and firmware should be the next step in your printer maintenance routine. It’s important to make sure you’re working with the most recent versions of both, as outdated ones can cause errors and jammed paper. It’s also an opportunity to check for new products and features that may improve the quality of your prints.
If you notice any errors when printing, search online for the latest drivers and firmware for your printer model. After you’ve downloaded and installed the updated versions, restart your computer and printer and resume printing after removing any paper that may still be inside the machine. You should also wait 30 seconds after turning on the printer before you try to print again.
Use Quality Paper and Ink
In order to use quality paper and ink, it’s important to select the right paper type and weight, use compatible ink or toner cartridges, and store paper properly to avoid damage.
When selecting paper, consider the printer model, media type, and paper size. If the paper is too heavy, it may not feed properly and cause jams. If the paper is too lightweight, it may not be picked up by the printer’s feed rollers. Paper jams can also occur when too much paper is placed in the tray or when paper is crumpled or moist.
Choose the Right Paper Type and Weight
Now that you’ve cleaned and maintained your printer, it’s important to choose the right paper and ink. The type and weight of paper you choose affects printing quality and speed, and using the wrong type or weight of paper can cause paper jams.
Paper type and weight also affect the amount of ink absorbed by the paper, which in turn affects the print quality. Paper weight is based on the weight of 500 sheets of paper in a ream. Lighter weight paper is usually less than 70 pounds, while heavier paper is usually 70 to 110 pounds.
Use Compatible Ink or Toner Cartridges
Now that your printer is clean and ready to go, it’s important to make sure that you use the right type and weight of paper, as well as compatible ink or toner cartridges. When it comes to using compatible ink or toner cartridges, it’s important to check the printer’s manual for a list of approved cartridges and avoid using any that are not on the list.
Failure to do so can lead to a paper jam or other issues. Furthermore, it is important to check for any paper still inside the printer before inserting a new cartridge. You should also check for any debris that may have accumulated inside the printer before closing it up. This will help ensure that your printer continues to operate smoothly and efficiently.
Store Paper Properly to Avoid Damage
It is essential to keep in mind the importance of storing paper properly to prevent damage and ensure quality printing. Paper can be easily compromised by changes in temperature or humidity, and dust, dirt and moisture can all cause serious issues.
To avoid any issues, the paper should be kept in a dry and dust-free environment, away from direct sunlight and high temperatures. Furthermore, paper should not be stacked too high, as this can cause the paper to bend or become warped. It is best to keep the paper in its original packaging, as this will provide the best protection. The paper should also be flipped periodically to ensure it stays flat and even.
Avoid Overloading the Printer
To avoid overloading the printer, it is important to monitor the number of pages printed, set limits on paper size and weight, and let the printer cool down between jobs. Carefully consider the workload of the printer when selecting paper size and weight to prevent paper jams. Once the paper is loaded, ensure that the printer is not overloaded. If it is, adjust the number of pages to be printed.
Between prints, let the printer rest to prevent damage from overheating. Allow for sufficient time for the printer to cool down to ensure that the print job is completed to the best of the printer’s ability.
Monitor the Number of Pages Printed
In order to protect your printer from unnecessary wear and tear, it’s important to be mindful of the number of pages being printed. If the printer is overloaded, it could lead to more serious issues such as paper jams or damage to the internal parts of the machine. A good rule of thumb is to never exceed the maximum recommended page count of the printer. Additionally, it may be beneficial to set limits on the size and weight of the paper being used.
Heavier paper will require more time for the printer to process, as well as more energy. To further ensure longevity of the printer, it’s important to allow the machine to cool down between print jobs. This can help to reduce strain on the printer and prevent any issues arising from overheating.
Set Limits on Paper Size and Weight
In addition to monitoring the number of pages printed, it is also important to set limits on paper size and weight. Excessive paper size and weight can cause a printer to malfunction, resulting in costly repairs or replacements. To avoid these situations, it is recommended to reduce the maximum paper size and weight.
Heavy paper should be restricted to a maximum of 80 gsm and large paper sizes should be restricted to A4 or smaller. If a larger paper size is needed, it is best to use a dedicated paper tray and reduce the paper weight to prevent jams. Additionally, it is important to ensure the paper is of good quality and free of any debris or moistures that may interfere with the printer’s function.
Let the Printer Cool Down Between Jobs
To ensure that the printer maintains its optimal performance, it is important to let it cool down between jobs. This will help prevent a number of mechanical issues that can arise from overuse. When a machine is overused, the internal components may become too hot, leading to mechanical breakdowns or malfunctions. To prevent such issues, time must be taken between jobs to allow the printer to cool down.
Additionally, this will also help the printer to last longer due to the reduced wear and tear on the internal components. This will ensure that the printer can remain in good condition and in top performance for a longer period of time. Finally, allowing the printer to cool down can also help to reduce the risk of paper jams.
Regularly Check Print Settings
It is crucial to regularly check print settings to ensure a successful print job. Start by verifying the paper size and orientation settings match the document being printed. Then, make sure the printer is set to the appropriate paper source. Finally, confirm the margins and print quality settings are accurate. Taking these steps will help reduce the chances of an unsuccessful print job and eliminate frustration.
Check the Paper Size and Orientation Settings
Having identified potential causes of paper jams, it is time to focus on preventing them. To ensure that paper jams do not occur, be sure to check the paper size and orientation settings. Before sending any document to the printer, confirm that the document is set to the correct size and orientation, such as letter or legal size, and portrait or landscape.
If the document is configured to print on the wrong size, it could cause the paper to jam as it feeds through the printer. Additionally, double check that the printer is set to the appropriate paper source before printing. By taking these steps, you can reduce the risk of paper jams and keep your documents looking sharp.
Make Sure the Printer Is Set to the Correct Paper Source
Having checked the paper size and orientation settings, as well as the margins and print quality settings, it is essential to take the additional step of ensuring that the printer is correctly set to the appropriate paper source. Malfunctioning due to incorrect paper source settings is a common issue for printers, and can be easily prevented with regular checks.
To begin, open the front cover and access the paper tray. Ensure that the right type of paper is loaded in the tray, and that it has been securely placed in the tray without any potential for shifting. If a different type of paper is currently being used, it is essential to remove and replace it with the designated paper type.
Check the Margins and Print Quality Settings
Having addressed the paper size and orientation settings and ensuring the printer is set to the correct paper source, it is now time to check the margins and print quality settings. This is critical, as any discrepancies can lead to a decrease in the accuracy and quality of the final product.
One must take into account that the margins may be adjusted too small or large, and may even be shifted in an irregular fashion. This can lead to the loss of some of the content, or an overall misalignment of text and images. On the other hand, if the margins are too wide, then the paper will be wasted and the cost of the job will increase. To ensure a smooth printing process, the print quality settings should also be examined.
Troubleshoot Software Problems
Troubleshooting software problems requires several steps to be taken. Checking for compatibility issues between the software and the computer is the first step. This ensures that the software can be used properly without any further issues. After that, the printer queue should be cleared of any unfinished jobs or any failed jobs that may be stuck. Running virus scans and updates can also help identify any malicious files that may be present and remove them.
This process helps protect the system from any potential threats. In addition, the updates help keep the system running smoothly and efficiently. Taking these steps helps ensure optimal performance and a more secure system.
Check for Compatibility Issues
Now that the printer settings have been checked, it’s time to move on to troubleshooting software problems that may be leading to printing issues. The first step in this process is to check for compatibility issues between the printer and the device being used. If the printer and device are not compatible, the printer may not be able to properly receive the document that is attempting to be printed.
To check for compatibility issues, take a look at the device’s user manual to determine if the printer is compatible. Additionally, research online to see if any additional information is available regarding compatibility. If the printer and device are compatible, then continue troubleshooting. If not, try to find a compatible printer or device to get the best printing experience.
Clear the Printer Queue
Having identified the source of the problem, it is now time to clear the printer queue. If paper is stuck inside the printer, it can be extremely difficult to remove. To begin, the power must be shut off, and the device unplugged. Then, the printer cover must be opened. If the paper is visible, it should be removed carefully, making sure not to tear it.
If the paper is not visible, it may be trapped further inside the printer. It is important to check all possible locations within the device before giving up. If the paper is still stuck, it should be gently tugged on until it comes out. If the paper is damp, it may need to be dried off before attempting any further handling.
Run Virus Scans and Updates
The next step in troubleshooting software problems is to run virus scans and updates. It’s essential to ensure your printer and computer are kept up-to-date and free of viruses. Outdated software may lead to compatibility issues and cause errors when attempting to print. A thorough scan of your device can reveal any malware or viruses that can be removed.
Make sure to check for available updates for your printer and computer and any other connected devices. You may need to download the latest version of a driver or software to ensure the best performance. It’s also a good idea to check for updates to your printer’s firmware, which is the software embedded into the printer and controls its operations.
Conclusion
The smooth running of an office requires proper maintenance of its printer. To ensure a hassle-free printing experience, start by troubleshooting any printer issues, cleaning and maintaining the machine, and using quality paper and ink. Avoid overloading the printer, and regularly check the print settings.
Additionally, troubleshooting software issues may be necessary. Regular maintenance and inspection of the printer will help to reduce the chances of a paper jam. In the event that a paper jam does occur, unplug the printer, carefully remove any paper from the tray, and use tweezers to remove any scraps of paper that may be stuck inside.
If problems persist, consult the printer’s user manual or customer support. With these tips and tricks, you can easily get your office printer back on track.
For more information and services you can contact us for a free quote and estimation.
- Address: 165 Veterans Way, Warminster, PA 18974
- Email: sales@aispa.us
- Call Us: (215) 999-8445


